Red Velvet Rolls
|
Getting your Trinity Audio player ready...
|
I’ll never forget the first time I brought Red Velvet Rolls to our family brunch. My sisters, Olivia and Emma, both raised their eyebrows when I walked in with a basket covered in a checkered cloth. “What did you experiment with this time, Mia?” Emma asked with that knowing smile.
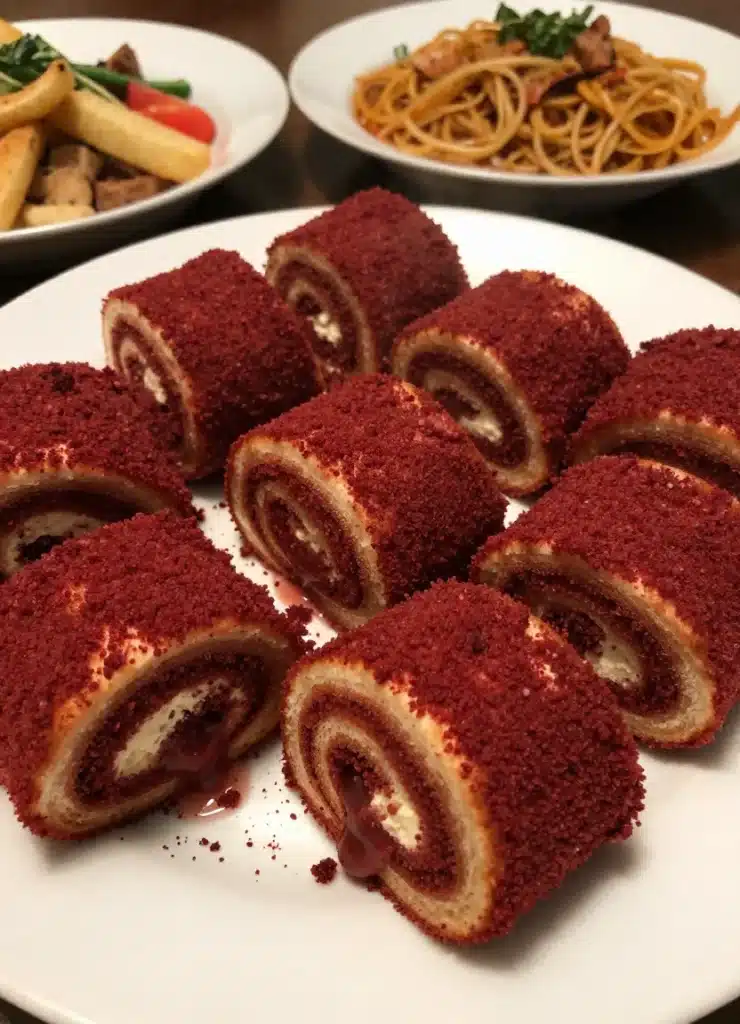
When I unveiled these gorgeous, crimson-swirled beauties, the entire table went silent. Then came the gasps, the photos, and finally, the mad scramble for the butter dish. These Red Velvet Rolls transformed our ordinary Sunday morning into something magical. Now, I’m sharing this stunning recipe with you because everyone deserves to experience the joy of pulling apart a warm, pillowy Red Velvet Roll that’s equal parts beautiful and delicious.
Why You’ll Love These Red Velvet Rolls
These Red Velvet Rolls combine everything you adore about classic red velvet cake with the comforting, yeasty goodness of homemade dinner rolls. First, they’re absolutely show-stopping. The vibrant red color swirled throughout each roll creates a visual masterpiece that’ll have your guests snapping photos before taking their first bite. Second, the flavor profile hits all the right notes—subtle cocoa undertones, a hint of tanginess, and buttery richness that melts in your mouth.
Moreover, these rolls aren’t overly sweet like traditional red velvet desserts. Instead, they strike the perfect balance between sweet and savory, making them versatile enough for holiday dinners, brunch spreads, or special celebrations. Additionally, the recipe is surprisingly forgiving for beginners. The dough comes together easily, and you don’t need fancy equipment or professional skills to achieve bakery-worthy results.
Furthermore, Red Velvet Rolls freeze beautifully, so you can prepare them ahead and simply reheat when needed. This makes holiday entertaining infinitely less stressful. Finally, watching people’s faces light up when they see these gorgeous rolls makes every minute of preparation worthwhile. Trust me, you’ll become the legend of every potluck.
Ingredients You’ll Need
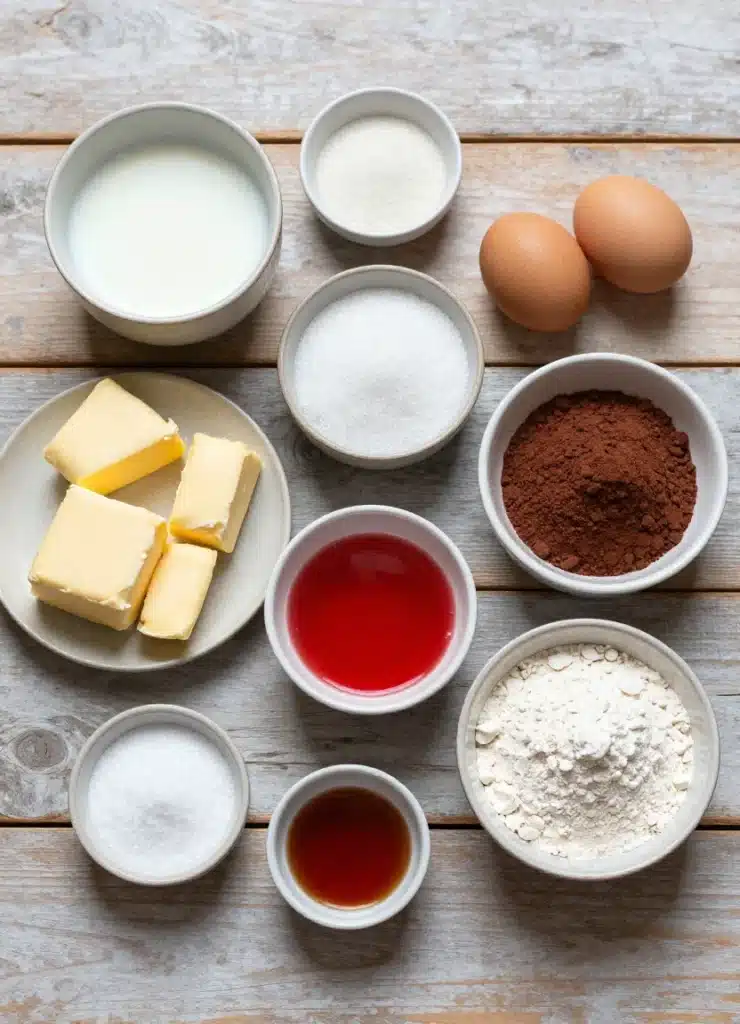
Gathering your ingredients beforehand makes the process smooth and enjoyable. Here’s everything you need to create these spectacular Red Velvet Rolls:
| Ingredient | Amount | Purpose |
|---|---|---|
| Warm whole milk | 1 cup | Activates yeast and adds richness |
| Active dry yeast | 2¼ teaspoons | Creates rise and fluffy texture |
| Granulated sugar | ¼ cup | Feeds yeast and adds sweetness |
| Unsalted butter, melted | 4 tablespoons | Provides tenderness and flavor |
| Egg | 1 large | Binds ingredients and enriches dough |
| Red gel food coloring | 1-2 tablespoons | Creates signature red velvet color |
| Unsweetened cocoa powder | 2 tablespoons | Adds subtle chocolate flavor |
| All-purpose flour | 3½ cups | Forms the dough structure |
| Salt | 1 teaspoon | Enhances all flavors |
| Vanilla extract | 1 teaspoon | Adds depth and warmth |
| Butter for brushing | 2 tablespoons | Glossy finish and extra richness |
Substitutions & Variations
Flexibility is key to making these Red Velvet Rolls work for your household. If you’re dairy-free, substitute the milk with unsweetened almond milk or oat milk. The butter can be replaced with vegan butter or coconut oil, though the flavor will vary slightly.
For a cream cheese twist, prepare a simple cream cheese glaze by mixing softened cream cheese with powdered sugar and milk. Drizzle this over warm rolls for an extra-decadent treat. Alternatively, create a cream cheese swirl by spreading softened cream cheese over the rolled-out dough before shaping.
If you prefer natural coloring, use beet juice instead of gel food coloring. You’ll need about 3-4 tablespoons, though the color won’t be quite as vibrant. Additionally, you can add mini chocolate chips to the dough for pockets of melty chocolate throughout your Red Velvet Rolls.
For whole grain enthusiasts, replace up to half the all-purpose flour with white whole wheat flour. This adds fiber and nutrients while maintaining a relatively light texture. Meanwhile, sugar-conscious bakers can reduce the sugar to 2 tablespoons without significantly affecting the yeast’s performance.
Flexibility is key to making these Red Velvet Rolls work for your household. If you’re looking for a creamy side dish to complement your rolls, consider trying this One-Pot Creamy Tortellini Alfredo for a delightful pairing.
Step-by-Step Instructions
Creating these beautiful Red Velvet Rolls is easier than you might think. Follow these detailed steps for perfect results every time.
Step 1: Warm your milk to about 110°F—it should feel warm but not hot to the touch. Pour it into a large mixing bowl and sprinkle the yeast over top. Add a pinch of the sugar and let it sit for 5-10 minutes until foamy. This proves your yeast is active.
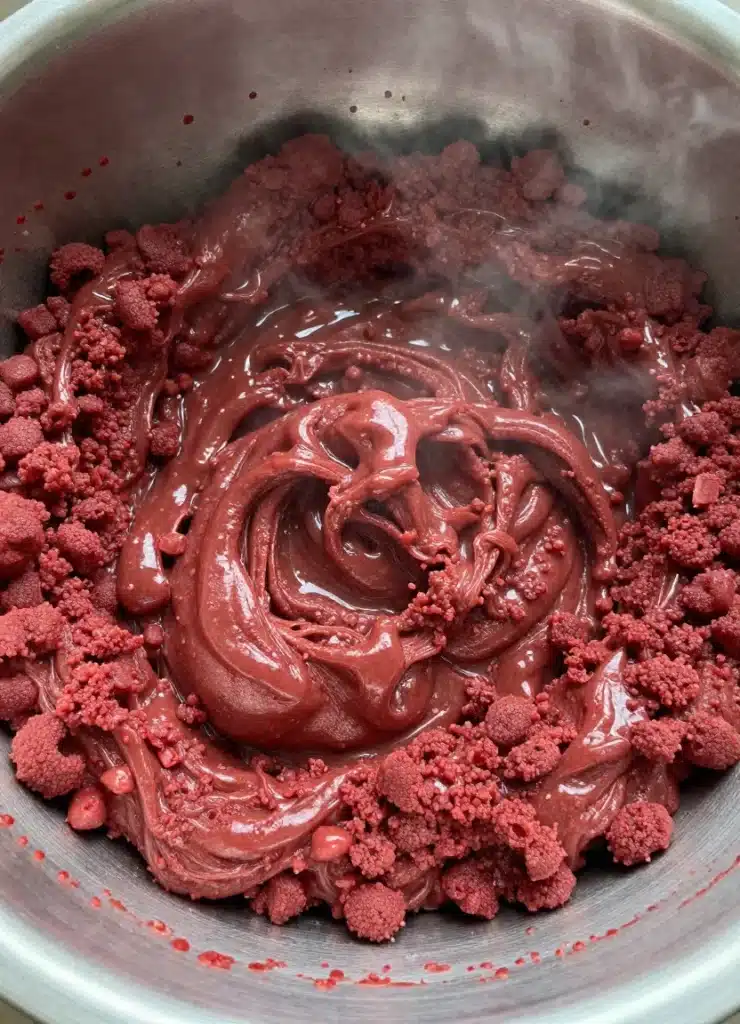
Step 2: Once the yeast mixture looks bubbly, add the remaining sugar, melted butter, egg, vanilla extract, and red gel food coloring. Whisk everything together until well combined. The mixture should be a beautiful crimson color at this point.
Step 3: In a separate bowl, whisk together the flour, cocoa powder, and salt. Gradually add this dry mixture to the wet ingredients, stirring with a wooden spoon or using a stand mixer with the dough hook attachment. Mix until a soft dough forms.
Step 4: Turn the dough onto a lightly floured surface and knead for 6-8 minutes by hand, or 4-5 minutes with a stand mixer. The dough should become smooth, elastic, and slightly tacky but not sticky. Add small amounts of flour only if absolutely necessary.
Step 5: Place your dough in a greased bowl, turning once to coat all sides. Cover with a clean kitchen towel or plastic wrap. Let it rise in a warm, draft-free spot for 60-90 minutes until doubled in size. This first rise develops flavor and texture in your Red Velvet Rolls.
Step 6: Punch down the risen dough and turn it out onto your work surface. Divide it into 12 equal pieces. Shape each piece into a smooth ball by tucking the edges underneath and rolling against the counter.
Step 7: Arrange your shaped Red Velvet Rolls in a greased 9×13-inch baking dish, leaving a small gap between each roll. Cover again and let them rise for another 30-45 minutes until puffy and nearly doubled.
Step 8: Meanwhile, preheat your oven to 350°F. Once the rolls have completed their second rise, bake them for 18-22 minutes until the tops are set and the rolls sound hollow when tapped. Avoid overbaking, as this can dry them out.
Step 9: Remove the Red Velvet Rolls from the oven and immediately brush the tops with melted butter. This creates a beautiful sheen and keeps them soft. Let them cool for 5-10 minutes before serving.
Pro Tips for Success
Temperature matters tremendously when working with yeast. Always ensure your milk is warm but not hot—too much heat kills the yeast, while too little won’t activate it properly. I use an instant-read thermometer to guarantee accuracy.
Don’t skimp on the kneading time. Proper kneading develops gluten, which gives these Red Velvet Rolls their wonderful, pillowy texture. You’ll know the dough is ready when it springs back when poked and feels smooth and elastic.
Use gel food coloring rather than liquid. Gel creates that vibrant, eye-catching red color without adding extra moisture to your dough. Liquid food coloring produces pale pink results and can throw off your dough’s hydration.
Create the perfect rising environment by turning your oven on for just one minute, then turning it off. Place your covered bowl inside this slightly warm oven for consistent, draft-free rising. Alternatively, place the bowl near (not on) a heating vent.
For the most uniform rolls, weigh your dough portions using a kitchen scale. Each piece should weigh approximately 70-75 grams. This ensures all your Red Velvet Rolls bake evenly and look professional.
Check your yeast’s expiration date before starting. Old yeast won’t rise properly, leading to dense, disappointing rolls. When in doubt, proof it first—active yeast should foam enthusiastically within 10 minutes.
Temperature matters tremendously when working with yeast. To further enhance your meal, consider serving these rolls alongside a hearty Steak and Fries for a satisfying dinner experience.
Storage & Reheating Tips
Store leftover Red Velvet Rolls in an airtight container at room temperature for up to 3 days. For longer storage, refrigerate them for up to one week. The refrigerator will firm them up slightly, but reheating restores their soft texture.
To reheat, wrap rolls in aluminum foil and warm them in a 300°F oven for 8-10 minutes. Alternatively, microwave individual rolls for 15-20 seconds. I prefer the oven method because it maintains the rolls’ exterior texture better.
These Red Velvet Rolls freeze exceptionally well. Once completely cooled, wrap them tightly in plastic wrap, then place them in a freezer-safe bag. They’ll keep frozen for up to 3 months. Thaw overnight in the refrigerator before reheating.
For make-ahead convenience, you can freeze the shaped, unbaked rolls after the first rise. Arrange them on a baking sheet and freeze until solid, then transfer to a freezer bag. When ready to bake, let them thaw and complete their second rise before baking as directed.
What to Serve With This Recipe
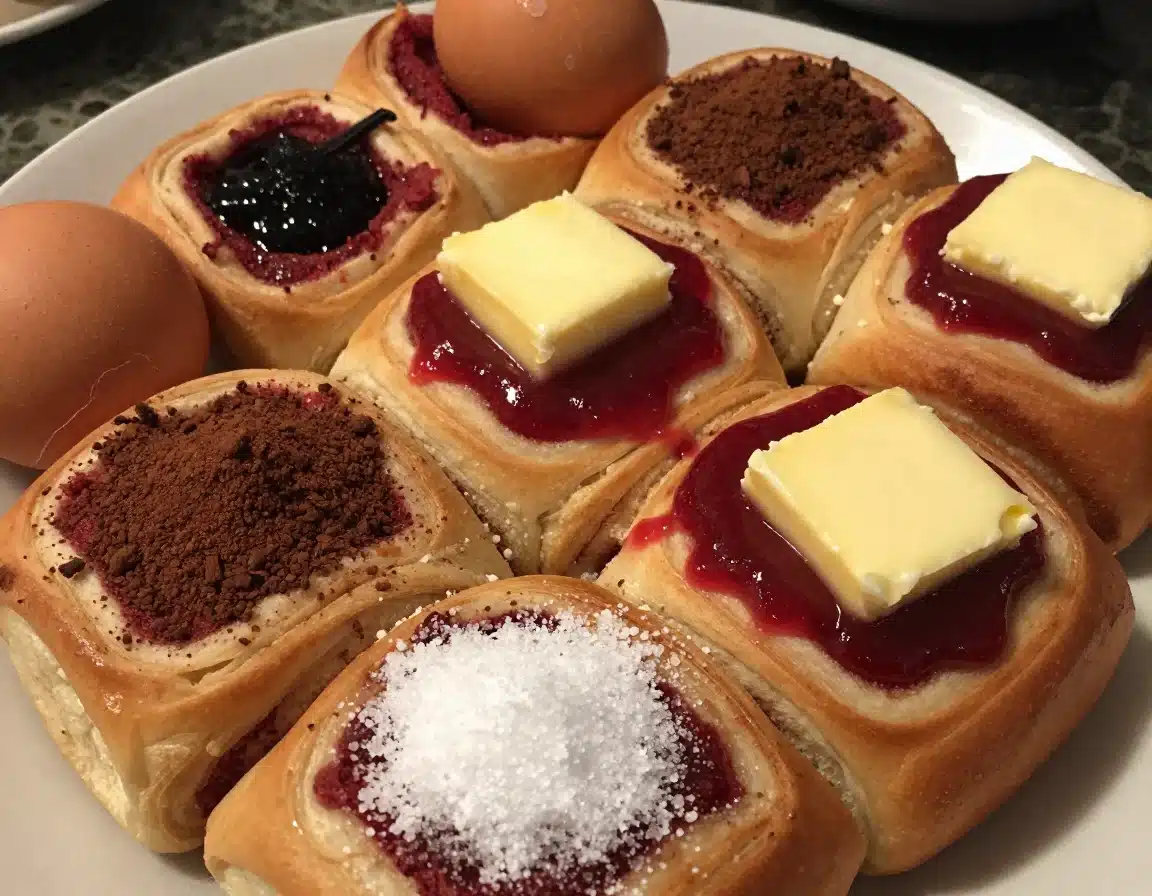
Red Velvet Rolls shine alongside both sweet and savory dishes. For breakfast or brunch, serve them with scrambled eggs, crispy bacon, and fresh fruit salad. The subtle sweetness complements savory breakfast proteins beautifully.
During holiday dinners, these rolls steal the show next to roasted turkey, honey-glazed ham, or prime rib. Their striking appearance elevates your table presentation while their flavor pairs perfectly with rich, savory main courses.
For a decadent dessert experience, serve warm Red Velvet Rolls with cream cheese frosting for dipping. This transforms them into a hybrid dessert that satisfies both bread and cake cravings simultaneously.
They’re also wonderful with soup—particularly creamy tomato bisque, butternut squash soup, or chicken noodle soup. The rolls soak up the broth while adding a touch of sweetness to balance savory, herb-forward soups.
At brunch gatherings, arrange these Red Velvet Rolls in a basket alongside an assortment of flavored butters—honey butter, cinnamon butter, or maple butter. Guests love customizing their rolls with different spreads.
Red Velvet Rolls shine alongside both sweet and savory dishes. For a delicious dessert option to serve after your meal, try this delightful Blackberry Cobbler that pairs beautifully with the rolls.
FAQs
Can I make Red Velvet Rolls without a stand mixer?
Absolutely! While a stand mixer makes the process easier, you can definitely make these Red Velvet Rolls by hand. Simply mix the ingredients in a large bowl with a wooden spoon, then knead the dough on your countertop for 8-10 minutes.
The dough is ready when it becomes smooth and elastic. Hand-kneading takes a bit more effort but produces equally delicious results.
Why didn’t my Red Velvet Rolls rise properly?
Several factors can prevent proper rising. First, check your yeast’s expiration date—expired yeast won’t activate. Second, ensure your milk wasn’t too hot, which kills yeast.
Third, the rising environment must be warm and draft-free, ideally between 75-80°F. Finally, be patient—rising times vary based on your kitchen’s temperature. In cooler environments, dough needs extra time to rise fully.
Can I use instant yeast instead of active dry yeast?
Yes, you can substitute instant yeast for active dry yeast in the same quantity. The main difference is that instant yeast doesn’t require proofing, so you can mix it directly with the dry ingredients. However, I still recommend warming the milk and mixing it with the wet ingredients first, then adding your flour mixture. This method ensures even distribution throughout your Red Velvet Rolls.
How do I get a deeper red color in my rolls?
For more vibrant Red Velvet Rolls, use gel food coloring rather than liquid, and don’t be shy with the amount. Start with 1 tablespoon, then add more if needed. Different brands vary in intensity. Additionally, using Dutch-process cocoa instead of natural cocoa can affect the final color—natural cocoa tends to produce deeper red hues when combined with food coloring.
Can I add cream cheese filling to these rolls?
Definitely! For cream cheese-filled Red Velvet Rolls, roll the dough into a rectangle after the first rise. Spread softened cream cheese mixed with a bit of sugar over the surface, then roll it up tightly and cut into slices.
Arrange them in your baking dish and proceed with the second rise and baking. This creates beautiful swirls and adds tangy richness to every bite.
Red Velvet Rolls are a delightful twist on traditional rolls, incorporating the rich flavors and vibrant color of red velvet cake. These rolls are perfect for various occasions, adding a touch of elegance to any meal, and you can learn more about their history and variations in this bread article.
Nutrition Information (per serving)
| Nutrient | Amount |
|---|---|
| Calories | 185 |
| Total Fat | 5g |
| Saturated Fat | 3g |
| Cholesterol | 28mg |
| Sodium | 215mg |
| Total Carbohydrates | 30g |
| Dietary Fiber | 1g |
| Sugars | 5g |
| Protein | 5g |
These Red Velvet Rolls have brought joy to countless gatherings at our house, and I know they’ll do the same for you. Whether you’re celebrating a special occasion or simply want to make an ordinary meal extraordinary, these stunning rolls deliver on both appearance and taste. The process is straightforward, the results are consistently impressive, and the smiles they generate are absolutely priceless.
So grab your apron, embrace your inner baker, and get ready to create something truly special. Your kitchen is about to smell amazing, and your table is about to look like something from a magazine spread. Happy baking!
Red Velvet Rolls
Ingredients
Method
- Warm your milk to about 110°F and sprinkle the yeast over top. Add a pinch of sugar and let it sit for 5-10 minutes until foamy.
- Add the remaining sugar, melted butter, egg, vanilla extract, and red gel food coloring to the yeast mixture and whisk until combined.
- In a separate bowl, whisk together the flour, cocoa powder, and salt. Gradually add this dry mixture to the wet ingredients, stirring until a soft dough forms.
- Knead the dough on a floured surface for 6-8 minutes until smooth and elastic. Place in a greased bowl, cover, and let rise for 60-90 minutes until doubled.
- Punch down the risen dough, divide into 12 pieces, and shape each into a ball. Arrange in a greased baking dish and let rise for another 30-45 minutes.
- Preheat the oven to 350°F. Bake the rolls for 18-22 minutes until set and hollow-sounding when tapped.
- Brush the tops with melted butter after baking and let cool for 5-10 minutes before serving.
Notes
Or browse by category:
As an Amazon Associate I earn from qualifying purchases.